Privy RPC Substitution
Integrate Shield3 with your Privy application to support compliance & security for transactions
Security & Compliance through Shield3 on Privy
Shield3 provides automated security & compliance tools for developers to protect user transactions through a customizable policy engine delivered as a custom RPC. With a couple of simple steps, customers of Privy can add custom rules to all transactions that are facilitated by their application through Shield3.
Building your app from scratch
First, clone the example repository
git clone https://github.com/0xShield3/packages.git
Change directories to the app subdirectory
cd packages/apps/OFAC Example
Install dependencies
npm i
Create .env file
touch .env
Add the following lines into the .env file. You can find your Shield3 API Key here. Create a new key, or use an existing one by clicking options -> view key.
I also recommend enabling the OFAC Sanction blocking and native transfer blocking policies while in the Shield3 app in order to test the RPC.
You can get your Privy app ID in the privy console.
NEXT_PUBLIC_SHIELD3_API_KEY=<YOUR-SHIELD3-API-KEY>
NEXT_PUBLIC_PRIVY_APP_ID=<YOUR-PRIVY-APP-ID>
Now simply run npm run dev and you'll be able to access the most basic version of a app at http://localhost:3000
Adding Shield3 to an existing app
To use Shield3 in your existing Privy app, simply add the 0xshield3/privy package to generate the RPC configurations needed to route transactions through your Shield3 account..
npm i @0xshield3/privy
Next, in your app.tsx file, import the Shield3 module.
import initShield3PrivyConfig from '@0xshield3/privy';Lastly, after your define privyProviderConfig in your code, add in the following.
// privyProviderConfig can be whatever config you're already using, no need to modify
const privyProviderConfig: PrivyClientConfig = {
embeddedWallets: {
createOnLogin: "users-without-wallets",
noPromptOnSignature: false,
},
loginMethods: ["email" , "google" , "twitter" , "discord" , "apple"],
};
// add in the following:
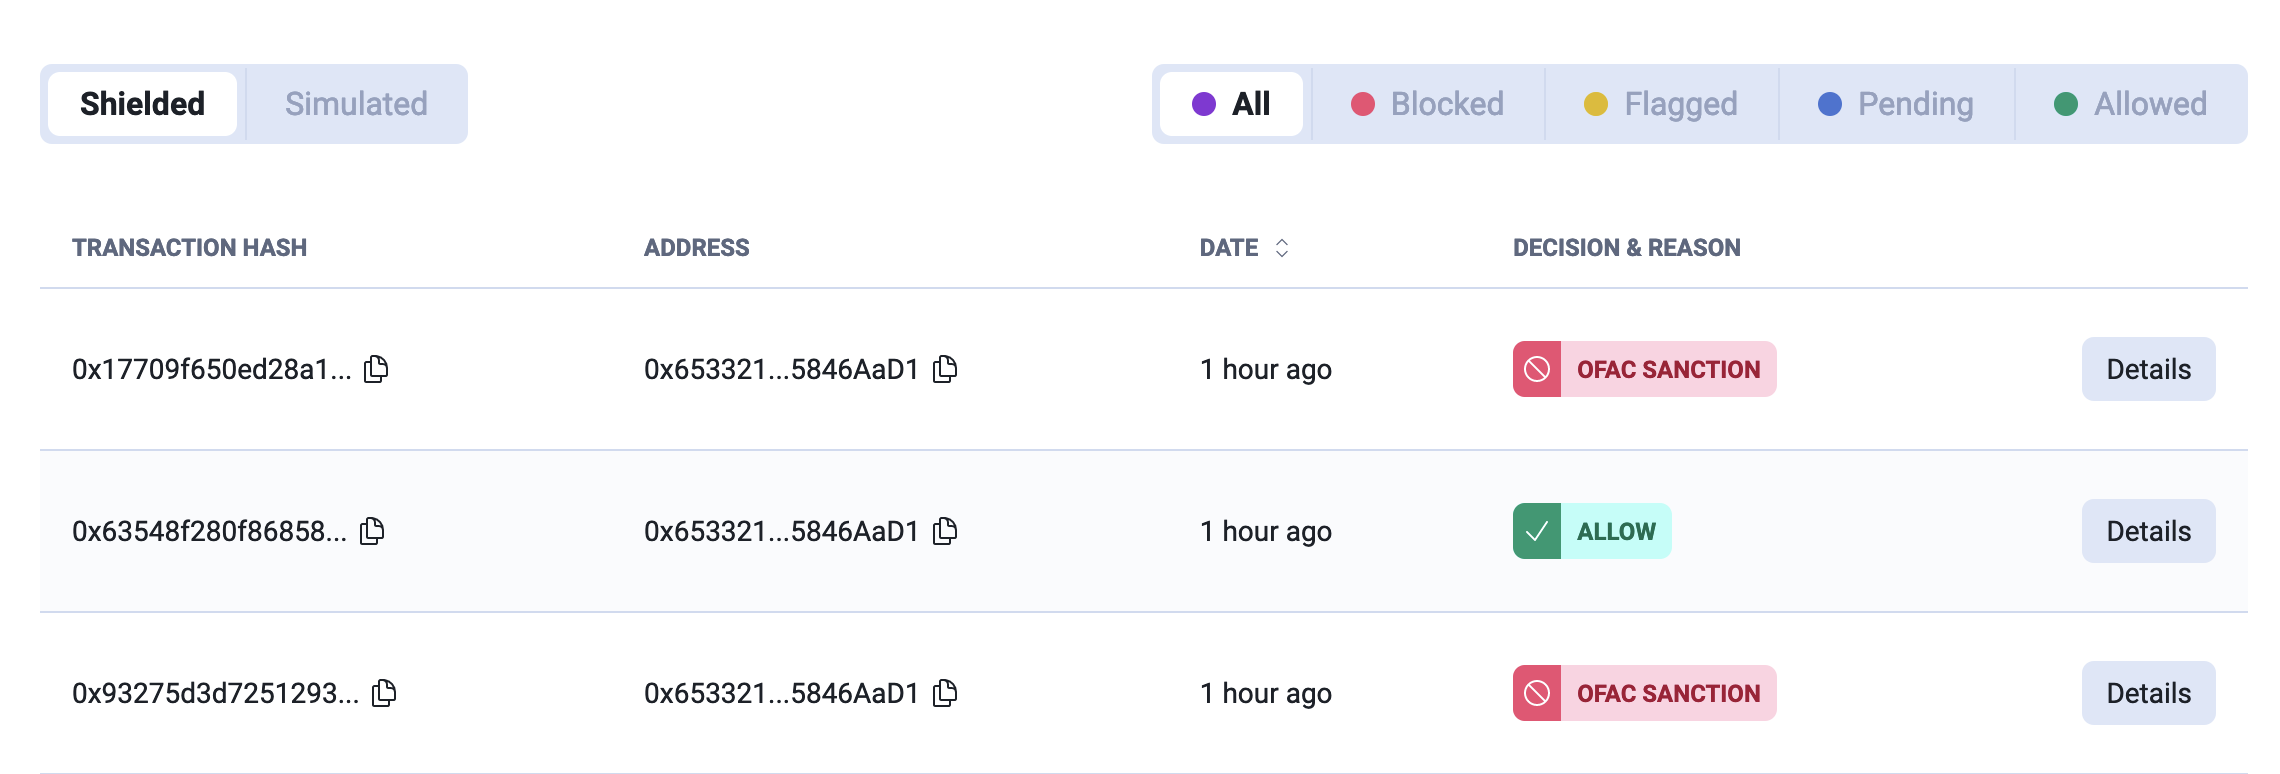
const shield3PrivyConfig = initShield3PrivyConfig(process.env.NEXT_PUBLIC_SHIELD3_API_KEY || '', privyProviderConfig);View transactions on the Shield3 dashboard
Now that Shield3 is configured with your Privy application, you will see the results of all transaction policy decisions and results on the Shield3 dashboard.
Updated 11 months ago